After trying it out, if you feel satisfied, you can consider installing the system to the hard drive. The advantage of installing to the hard drive is that you can fully utilize the performance of the computer hardware without having to be slowed down by external devices. In addition, settings and files can be retained, and the user experience will be more complete.
Will the installation be complicated?
Although the installation methods of each distribution are different, they usually provide a graphical interface to facilitate user installation and configuration. As long as you master the basic process, you can usually install it successfully.
The installation process is roughly as follows:
The installation process is very different from Windows. Linux tends to complete the initial settings before installation.
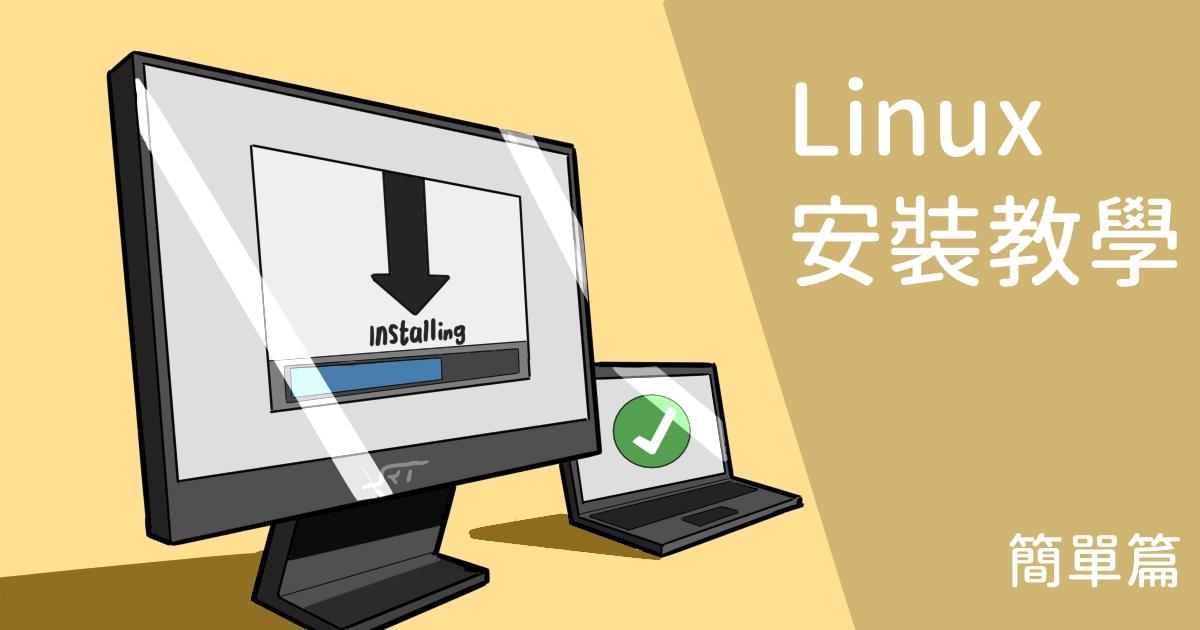
After understanding the process, you can start the installation. Ubuntu is used as an example below.
! This article will first focus on single-hard disk and single-system installation (that is, the kind where the entire hard disk will be cleared, remember to back up important data first). If you are afraid of not being proficient in installation, you can use a virtual machine to practice first!
Advance preparation
A computer or virtual machine to install Linux requires a prepared Linux bootable USB (the previous article explains how to make one). The virtual machine can directly use the iso file to enter the computer into the system on the USB bootable disk.
start installation
implement Installer(Usually displayed on the desktop or Dock bar) Select language (you can choose according to your habit) Check Normal installation、Install Ubuntu while downloading updates(If the network environment is not good, you can skip it first),Install third-party softwareInstallation type Choose to clear disk and install Ubuntu (The system will automatically allocate space) Select the area, click the map location, select Taipei, enter the user name and password, and then wait ~ the installation completion window will appear. Restart now The installation will be completed and the shutdown screen will appear. Please remove the installation medium,then press ENTER: Don’t panic, pull out the USB and press Enter to restart. There is no next step, and the installation is complete.
Personally, I think this is much simpler than Windows installation (probably because there is no need to do initial settings later). Of course, the above are just simple installation methods. I will talk about advanced installation settings later when I have the opportunity. (Dual system boot/partition setting).
I’m Black Tea, see you in the next article~
*Thank you very much for reading this article*
If you like or find this article helpful, you can like it or follow it. If there are any errors in the article or you have other ideas, please leave a message below. Your support is the motivation for my creation~
Black tea’s FB fan page has been opened~ Welcome to follow~:FB fans
~You can also take a look if you are interested~
Website from college:Computer manual for beginners

