
Okay, here’s a breakdown of the Yin Yoga for Stress practice described in the text, formatted for clarity and ease of use.I’ll present it as a sequence, including pose names, instructions, modifications, and timings.
Yin Yoga for Stress: A Sequence
This practice focuses on gentle, passive poses held for longer durations to release tension and calm the nervous system.
1. Supported Fish Pose (not detailed with instructions, but used as a transition)
* Purpose: prepares the body for deeper relaxation.
* Note: The text doesn’t provide instructions for this pose, assuming the reader is familiar with it.
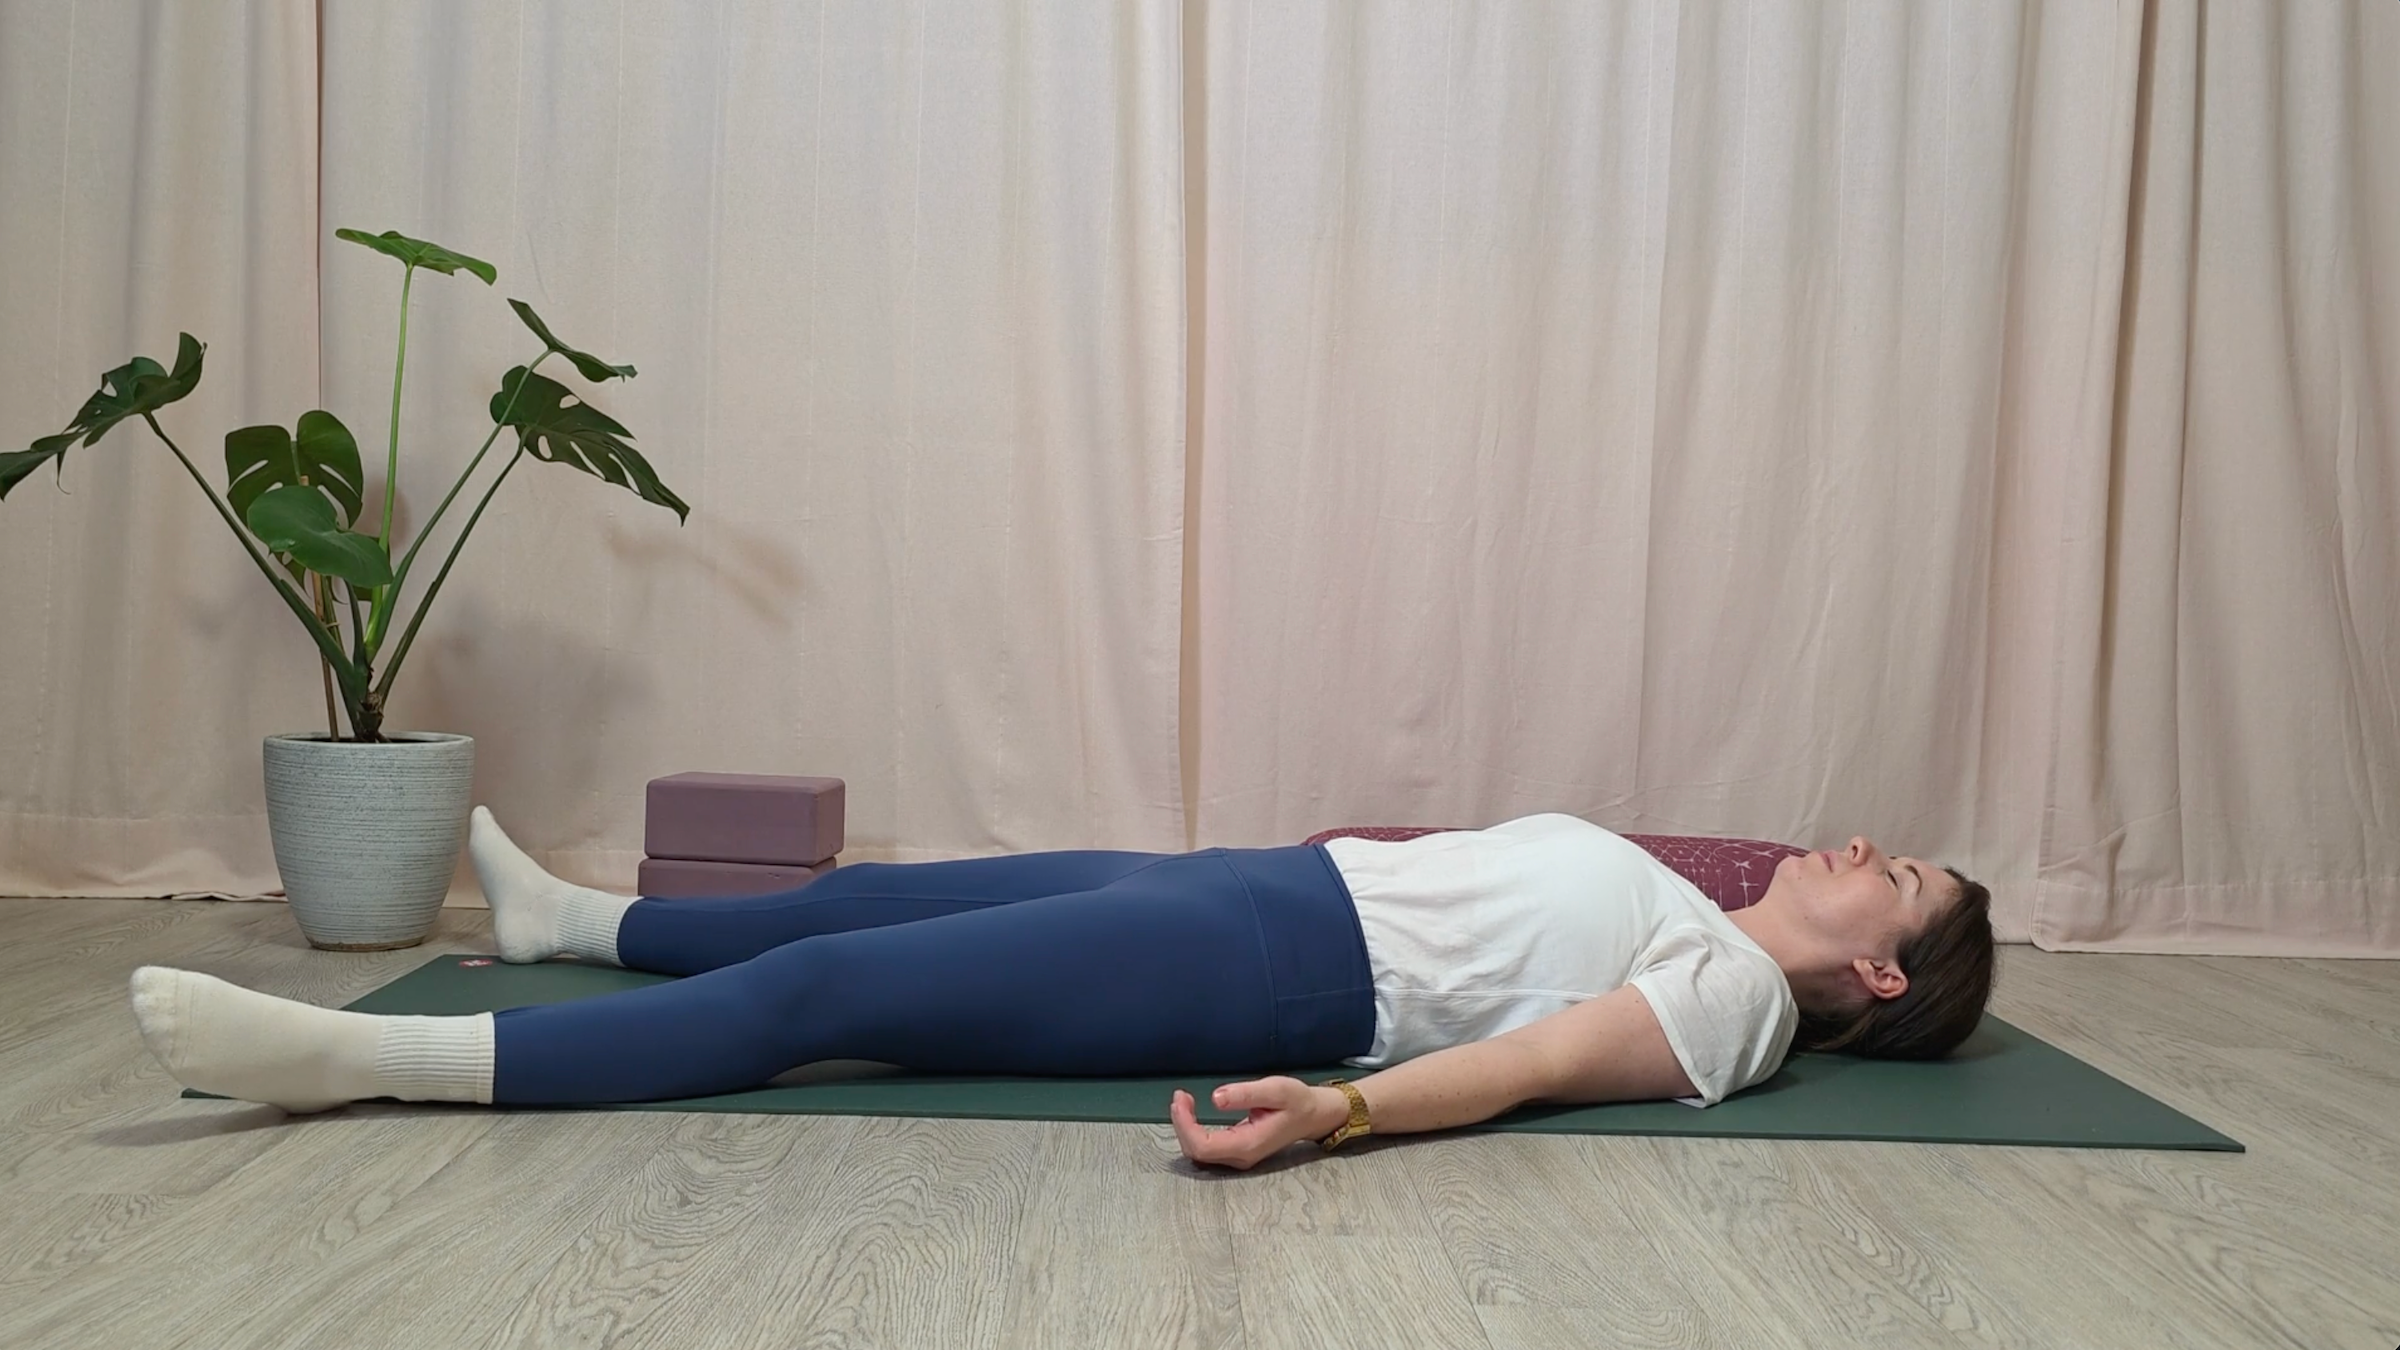
2. Savasana (Corpse Pose)
* Purpose: Neutralizing counter pose to a backbend (like Supported Fish).
* how to: Lie flat on yoru back, arms relaxed by your sides, palms up. Close your eyes and rest for a few breaths.
* Duration: A few breaths (brief transition).
3. Reclined Butterfly Pose (Reclining Bound Angle Pose)
* Purpose: Opens hips and inner thighs, promotes relaxation.
* How to:
* Lie on your back.
* Bring the soles of your feet together, allowing your knees to fall open to the sides.
* Arms relaxed out to the sides, palms facing up.
* Adjust the distance between your feet to find a pleasant intensity.
* Duration: 5 minutes.
* Modifications:
* Place folded blankets, blocks, or pillows under each thigh for support.
* Bring feet farther away from the body if hips feel tight.
4. Constructive Rest
* Purpose: Settles the spine, relaxes the psoas muscles, quiets the mind.
* How to:
* Lie on your back with knees bent.
* Gently draw your knees together and lean them against one another.
* feet grounded.
* Duration: A few breaths (transition).
5. Supported Bridge Pose
* Purpose: opens the front body (chest, abdomen, hip flexors), supports the lower back, improves circulation, and calms the mind.
* How to:
* Lie on your back with knees bent and feet flat on the mat.
* Press into your feet to lift your hips.
* Slide a yoga block (low,medium,or stacked) under your sacrum (base of the spine).
* Lower your hips onto the block(s).
* Arms alongside your body, palms up.
* Feet grounded or legs extended straight (if comfortable).
* Duration: 5 minutes.
* Modifications:
* Adjust block height: Lower for gentler support, higher for more intensity. Stack blocks if needed.
6.Savasana (Corpse Pose)
* Purpose: Final relaxation, integration of the practice.
* How to:
* Extend legs long, feet falling open.
* Arms softly by your sides, palms up.
* Close your eyes and allow your breath to return to it’s natural rhythm.
* Duration: As long as you can comfortably rest.
* Closing: Deepen your breath,wiggle fingers and toes,roll to your right side,and pause before returning to your day.
Key Principles of this Practice:
* Passive Stretching: The poses are held without muscular effort.
* Long Holds: Poses are held for several minutes to allow for deeper release.
* Props: Props (blocks, blankets, pillows) are used to support the body and make the poses accessible.
* Breath Awareness: Focus on slow, natural breathing throughout the practice.
* Surrender: Allow the body to relax and surrender into the poses.
I hope this formatted version is helpful! Let me know if you’d like any further clarification or adjustments.