
Capturing the Northern Lights with Your Phone: A Guide
Here’s how to capture stunning photos of the Northern Lights using your smartphone, particularly a Google Pixel:
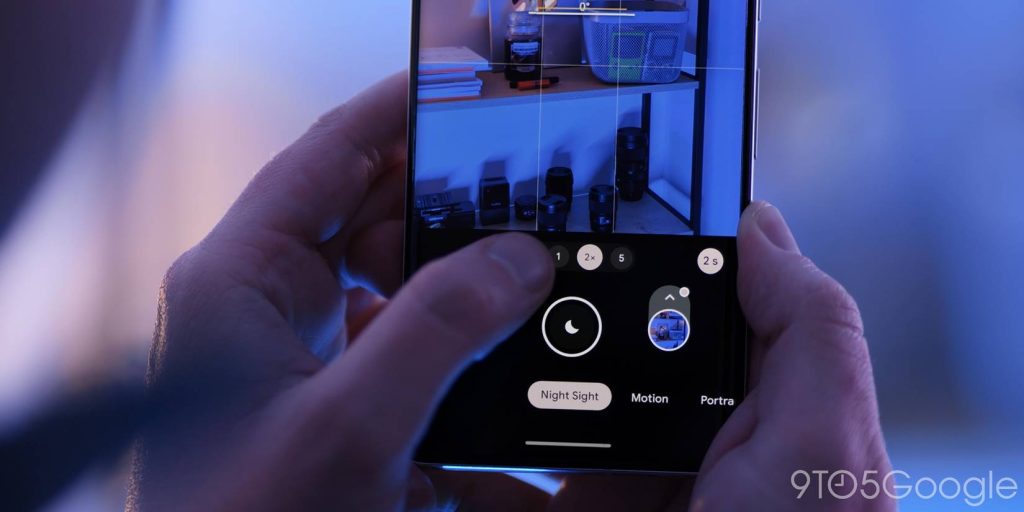
Using Google Pixel’s Night Sight & Astrophotography:
- Switch to Night Sight: Open your camera app and select the “Night Sight” mode from the bottom bar.
- Initial Capture: If the Northern Lights are already visible to the naked eye, Night Sight alone might potentially be sufficient.
- Astrophotography for Detail: For more detailed images and time-lapses, use Astrophotography.
- Stable Setup: Place your phone on a tripod or a very steady surface.
- Star Icon: After a few seconds of stillness, a star icon will appear on the shutter button.
- Capture: Gently tap the star icon to begin the process, which can take up to 4 minutes.
- Processing & Results: Your phone will process the image, producing both a still photo and a time-lapse – perfect for capturing the dynamic Northern Lights.
Other Android Phones:
* While dedicated astrophotography modes are rare on other Android devices, standard night modes can still produce good results.
* Moast phones, like Samsung galaxy devices, will automatically activate night mode in dark conditions.
* General Rule: If you can see the Northern Lights with your eyes, your phone’s standard night mode should be able to capture them.
Image Example: The article includes an image demonstrating the Night Sight mode on a Google Pixel.
Example Photos: The author captured photos from North Carolina during the May 10, 2024 aurora borealis storm.