
Talos Linux Installation Guide Summary
This document details how to install talos Linux,a Kubernetes distribution,using both talosctl and Talm (a configuration manager). Here’s a breakdown of the process:
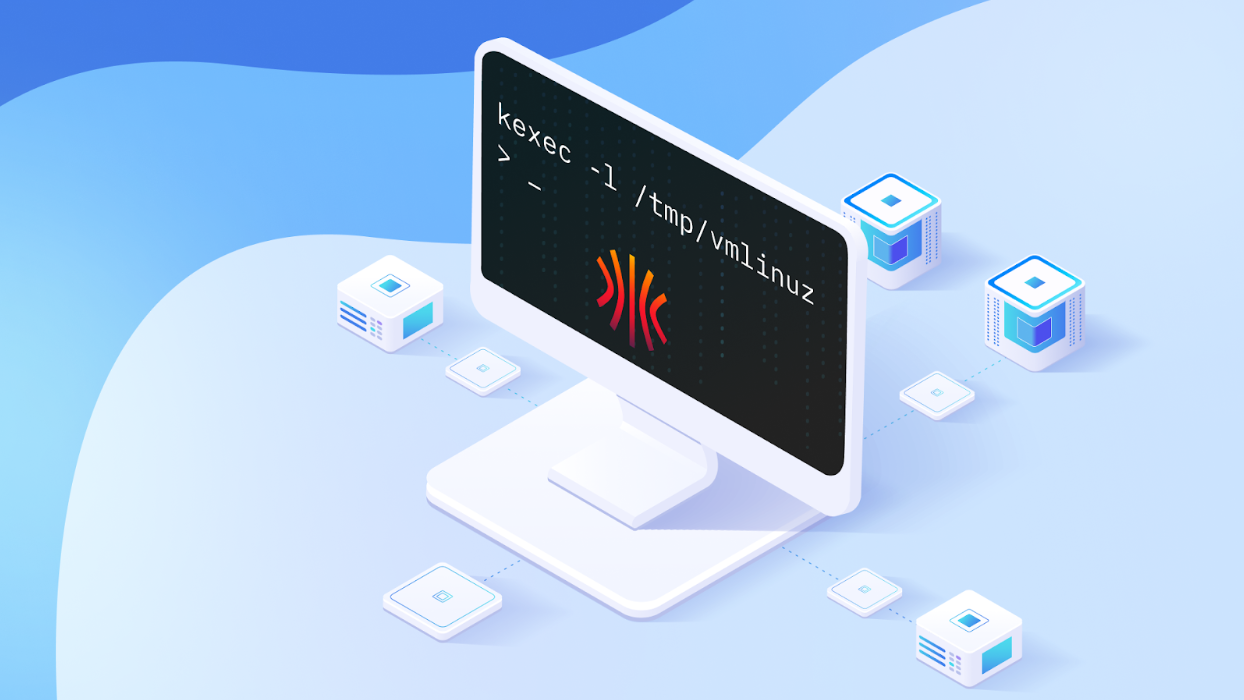
1. Initial Boot (kexec):
* Talos can be initially run using kexec on an existing system, allowing you to test and configure it in RAM without immediate disk installation.
* Crucially, ensure the new kernel receives the correct network settings from the existing system via the ip parameter in the command line. This allows API access to the booted Talos instance.
2. Installation to Disk (using talosctl):
* Apply Configuration: Use talosctl apply -f controlplane.yaml -e <endpoint> -n <node_name> -i to install Talos onto the /dev/sda disk, overwriting the existing OS, and then reboot.
* Bootstrap Etcd: Initialize the etcd cluster with talosctl --talosconfig=talosconfig bootstrap -e <endpoint> -n <node_name>.
* Check Status: Monitor the node’s status using the dashboard: talosctl --talosconfig=talosconfig dashboard -e <endpoint> -n <node_name>.
* Retrieve Kubeconfig: Once services are ready, get the kubeconfig file: talosctl --talosconfig=talosconfig kubeconfig kubeconfig and then export KUBECONFIG=${PWD}/kubeconfig.
3. Installation to Disk (using Talm):
* Initialize Talm: mkdir talos; cd talos; talm init
* Configure values.yaml: Adjust network settings (endpoint, podSubnets, serviceSubnets, advertisedSubnets) in the values.yaml file. Example:
“`yaml
endpoint: “https://10.0.0.131:6443”
podSubnets:
- 10.244.0.0/16
serviceSubnets:
- 10.96.0.0/16
advertisedSubnets:
- 10.0.0.0/24
“`
* generate Node configuration: talm template -t templates/controlplane.yaml -e <endpoint> -n <node_name> > nodes/node1.yaml
* Apply Configuration: talm apply -f nodes/node1.yaml -i
* Talm Benefits: Talm automatically detects node address and endpoint from the generated file’s “modeline”.
4. Talm Commands (after configuration):
* Dashboard: talm dashboard -f nodes/node1.yaml
* Bootstrap: talm bootstrap -f nodes/node1.yaml
* Kubeconfig: talm kubeconfig kubeconfig -f nodes/node1.yaml
Key Advantages of Talm:
* Helm-like Templating: Uses templates for configuration.
* Dynamic Value substitution: Queries the Talos API to populate configurations.
* Node-Specific Configurations: Handles different settings for each node.
* Secure Storage: Generated configs don’t contain secrets; secrets are stored separately in secrets.yaml, talosconfig, and kubeconfig.
Critically important Considerations:
* Network Settings: Always specify network settings when applying the configuration, especially for on-disk installations.
* Disk overwrite: Applying the configuration overwrites the existing OS on the specified disk (/dev/sda).
* Secrets Management: keep secret files (secrets.yaml,talosconfig,kubeconfig) secure.
this guide provides a thorough approach to installing Talos linux,offering flexibility through both talosctl and the more advanced Talm configuration manager.